

Workspace Setup | Full-Stack Google Contacts Clone with Adonis.js/Node.js and Quasar (Vue.js)


Table of contents
We will begin this project with setting up your Workspace. Basically, you will fork the project template, clone it into development machine (PC), and start the development server.
Pre-requisites
You should have Git, Microsoft VS Code, and Node.js installed and setup on your PC. If you haven't, do the following:
- Download and install Git for your environment (Linux, Windows, or macOS). Visit here.
- Setup your Git environment. Follow these instructions.
- Download and install Microsoft Visual Studio Code (recommended). You are free to use any other IDE of your choice.
- Download and Install Node.js. The 14.x.x LTS version is recommended as it is support by most build tools.
- Download and install Yarn for package management.
Frontend Setup
Since the lessons with begin with frontend implementations, you should not worry about installing backend tools such as MySQL/PostgreSQL, Redis, etc. You should install the Quasar CLI globally on your machine.
Install the Quasar CLI
yarn global add @quasar/cliOpen VS Code. It should open the terminal at the bottom by default. If it does not open the terminal, click Terminal > New Terminal. Change into the base directory for your development projects. E.g.:
cd /home/ndianabasi/dev # Linux
# or
cd F:\dev #windows
It is recommended that you use the integrated terminal within VS code for your development. It avoids the unnecessary switching from VS code to a command-line tool.
Go to github.com/ndianabasi/google-contacts-clone.. and fork the project.
- After forking, click on the Code button and copy the forked project URL. It should contain your username.
Switch back to VS Code and clone the project into your local machine. This will download or clone the forked project and create a directory:
google-contactscontaining two directories:uiand api`.git clone https://github.com/your-username/google-contacts-clone-starter.gitCreate a VS Code workspace. A VS Code workspace provides a level of control over the configurations/settings of your environment. To ensure that you are following the steps correctly, go to File > Open Folder. Make sure you open the folder containing the
uiandapifolders. At this point, create a workspace by going to File > Save Workspace As. In the dialog, enter the namegoogle-contacts-cloneand save the workspace. Now, when you launch VS Code, you can simply click on thegoogle-contacts-cloneworkspace and the folder will be open with all VS Code settings for the workspace.Change into the
uidirectory under the createdgoogle-contacts-clone-starterdirectory. Run the development server. The UI will opened automatically after compilation.cd ui yarn serve
The UI should look like this:
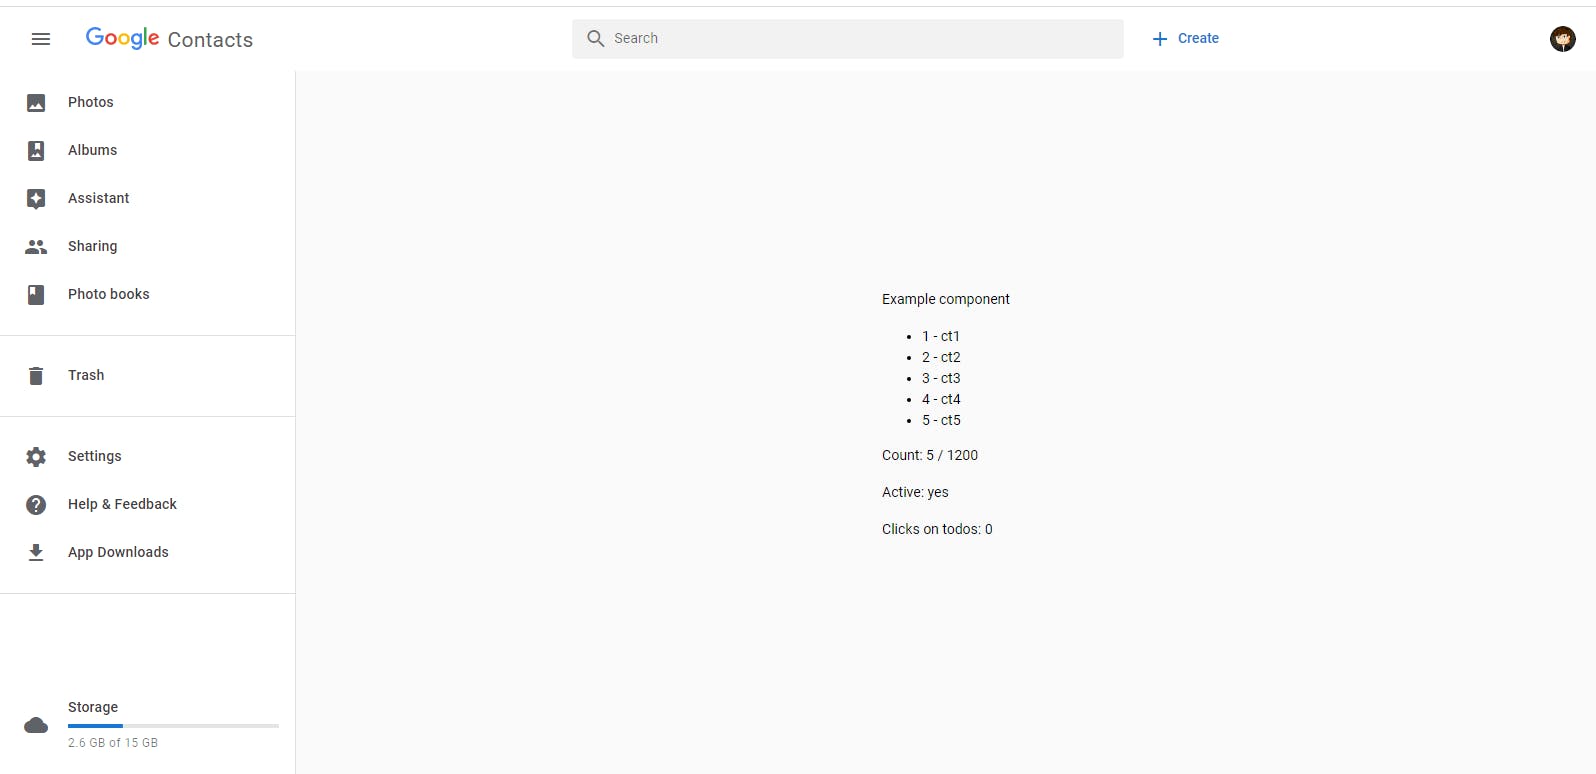
If you have the same screen, then everything worked well. Congratulations.
It looks bare, right? You will be responsible for building the entire UI, so brace up.
As a guide for what you will build, open contacts.google.com on your browser to see the desktop version. You can adjust the browser width the see the responsive version of the app. Having some contacts will help explore the interface and functionalities.
Before we wrap up with this lesson, it is important to note that eslint is used to enforce code styles on both the frontend (ui) and backend (api) packages. If you are having errors such as:
WARNING in src/layouts/MainLayout.vue:11:13
vue/attributes-order: Attribute "aria-label" should go before "@click".
This is a linting warning. You can fix them by running the command below:
yarn lint --fix
In the next lesson, we will discuss the high-level overview of the frontend for the app.